
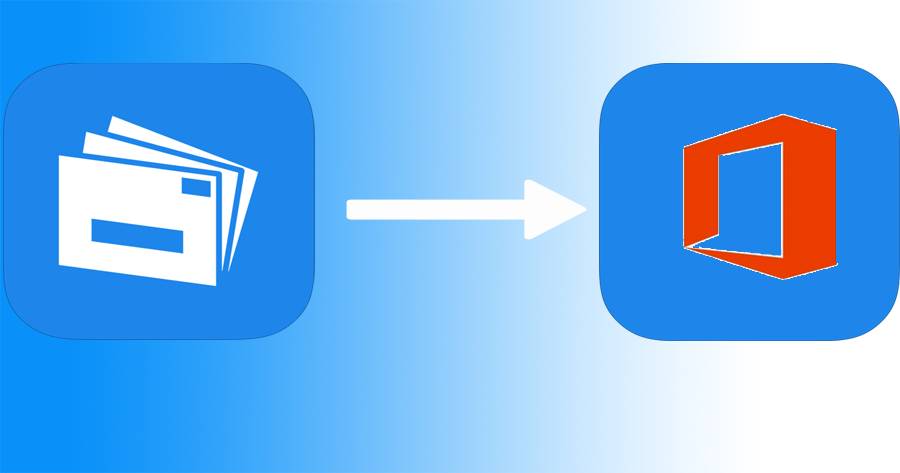
In this article, you will get to know how to migrate emails from EML to Office 365. And get to know the manual and automated techniques to import EML files to Office 365 suite.
EML files are considered as an email message along with attachments that are supported by various email client applications.
On the other side, Office 365 is a cloud-based application through which you can access your important data anywhere at any time. Let’s know some more benefits and reasons for choosing Microsoft Office 365.
Why do Users Want to Import EML to Office 365?
There are many reasons due to which users want to migrate EML to Office 365 mailbox. Some of them are mentioned below:
- It includes many advanced features and programs such as Web apps, SharePoint, online meetings, online storage, etc.
- It also provides a centralized way to save and access data on a single platform.
- It maintains the privacy of the user’s data by providing more security.
- It has more storage capacity depending upon its subscription plans.
Now, let’s understand the methods to migrate EML files to Office 365 cloud account.
How to Migrate Email from EML to Office 365 Mailbox? – Manually
To manually import EML email to Office 365, you have to convert EML files to PST format then upload these PST files into Office 365. Let’s begin the step-by-step process.
Step 1: Convert EML to PST
To work with manual method you need Windows Live mail application. Or you can convert EML to PST with automated EML to PST converter.
Follow the steps to convert EML files to PST:
- Launch Windows Live Mail application >> Click on the File button.
- Go to Export email option>> Select Export messages.
- Select “Exchange Server” from the select Program list and click on the Next button.
- Choose your EML data folder >> Press OK button·
- A window will appear on screen showing the EML to PST conversion process completion message.
- Click on the Finish button.
Step 2: Transfer PST to Office 365 Using Network Upload
In order to move PST file to Office 365 account by using the network upload method, you need to follow given below steps:
- Login into the Office 365 account.
- Create a new job to upload data to Office 365 Azure storage location.
- Copy and save the network upload SAS URL.
- Download & install Azure AzCopy tool and run it
- Use the command prompt to upload the PST files to Office 365 using the AzCopy.exe tool.
- Create a CSV file having the details of mailboxes.
- Create a PST import job.
- Finally, import PST files to Office 365.
Note: If you want to avaid complication of manual methods you can use PST to Office 365 migration tool
Migrate EML Files to Office 365 – Automated Solution
EML to Office 365 migration tool is the professional software that allows users to import EML files to Office 365 user account without login of Admin account. The application takes only a few moments to migrate the bulk of data from EML to Office 365 mailbox. The software is compatible with EML files from any application like Thunderbird, Windows Live Mail, etc. It is the safest and secure way to migrate emails from EML to Office 365.
The utility has a GUI interface that is a simple and bug-free method to upload EML to Office 365. Get the expert solution and download the software to accomplish the task successfully.
Simple Steps to Import EML to Office 365
Step 1: Download, install, and run the software.
Step 2: Choose the Drag&Drop or Select Files option to import EML files into the software panel.
Step 3: After adding the EML files, click on the Convert button to start the migration process.
Step 4: Enter the Office 365 user credentials and click the login button. You can also apply date filter option to choose the selective .eml files.
Step 5: Now, the software starts the importing process. Thus, files get successfully imported into Office 365 account. Hit the OK button.
Moreover, the software provides an option to save the exported report. After completing the entire procedure, you need to sign in the Office 365 account. You can view those .eml files along with attachments in bulk into Office 365.
Know the Quality Features of the Software
- Quickly upload multiple EML files with attachments and transfer to Office 365 account.
- Provides the date filter option for selective data migration.
- Maintain email properties, data integrity, and folder hierarchy during the migration process.
- There is no file size limitation imposed with the software.
- Generates the complete record of the migration process.
- Compatible with all editions of Windows including the latest version.
Wrapping Things Up
Everyday users are moving their emails to a cloud platform. As the Office 365 has lots of advanced features that helps the users in many ways. So, people that are having EML files supported by their desktop email client, now want to import these EML files to Office 365. Therefore, we elaborated the manual and automated methods that help users to migrate email from EML to Office 365 account. However, the manual approach is a quite lengthy process. So, if you value your time and want the quick and efficient solution you can use the automated method to migrate EML files to O365.